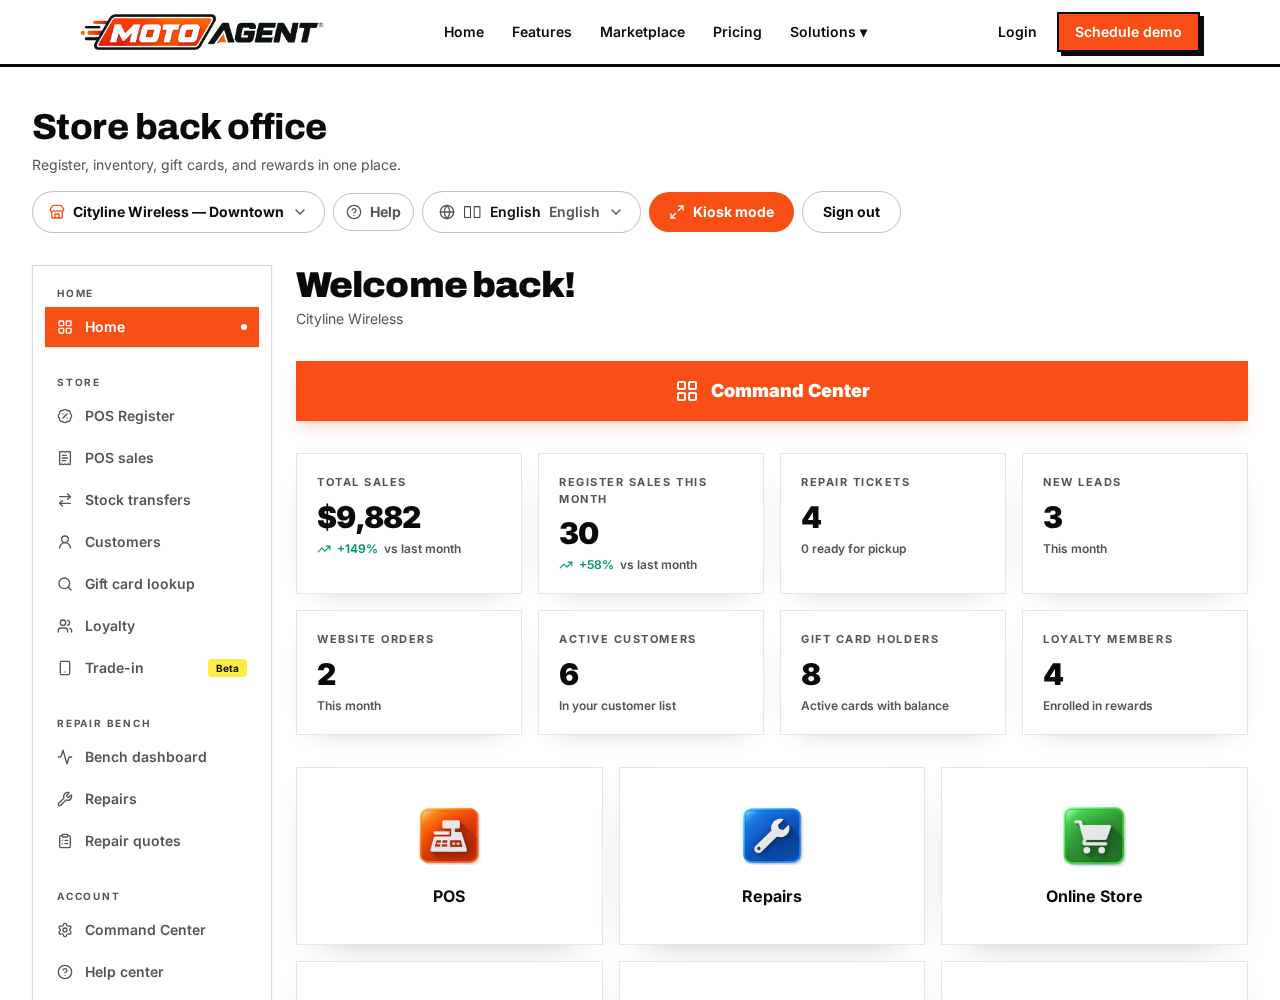
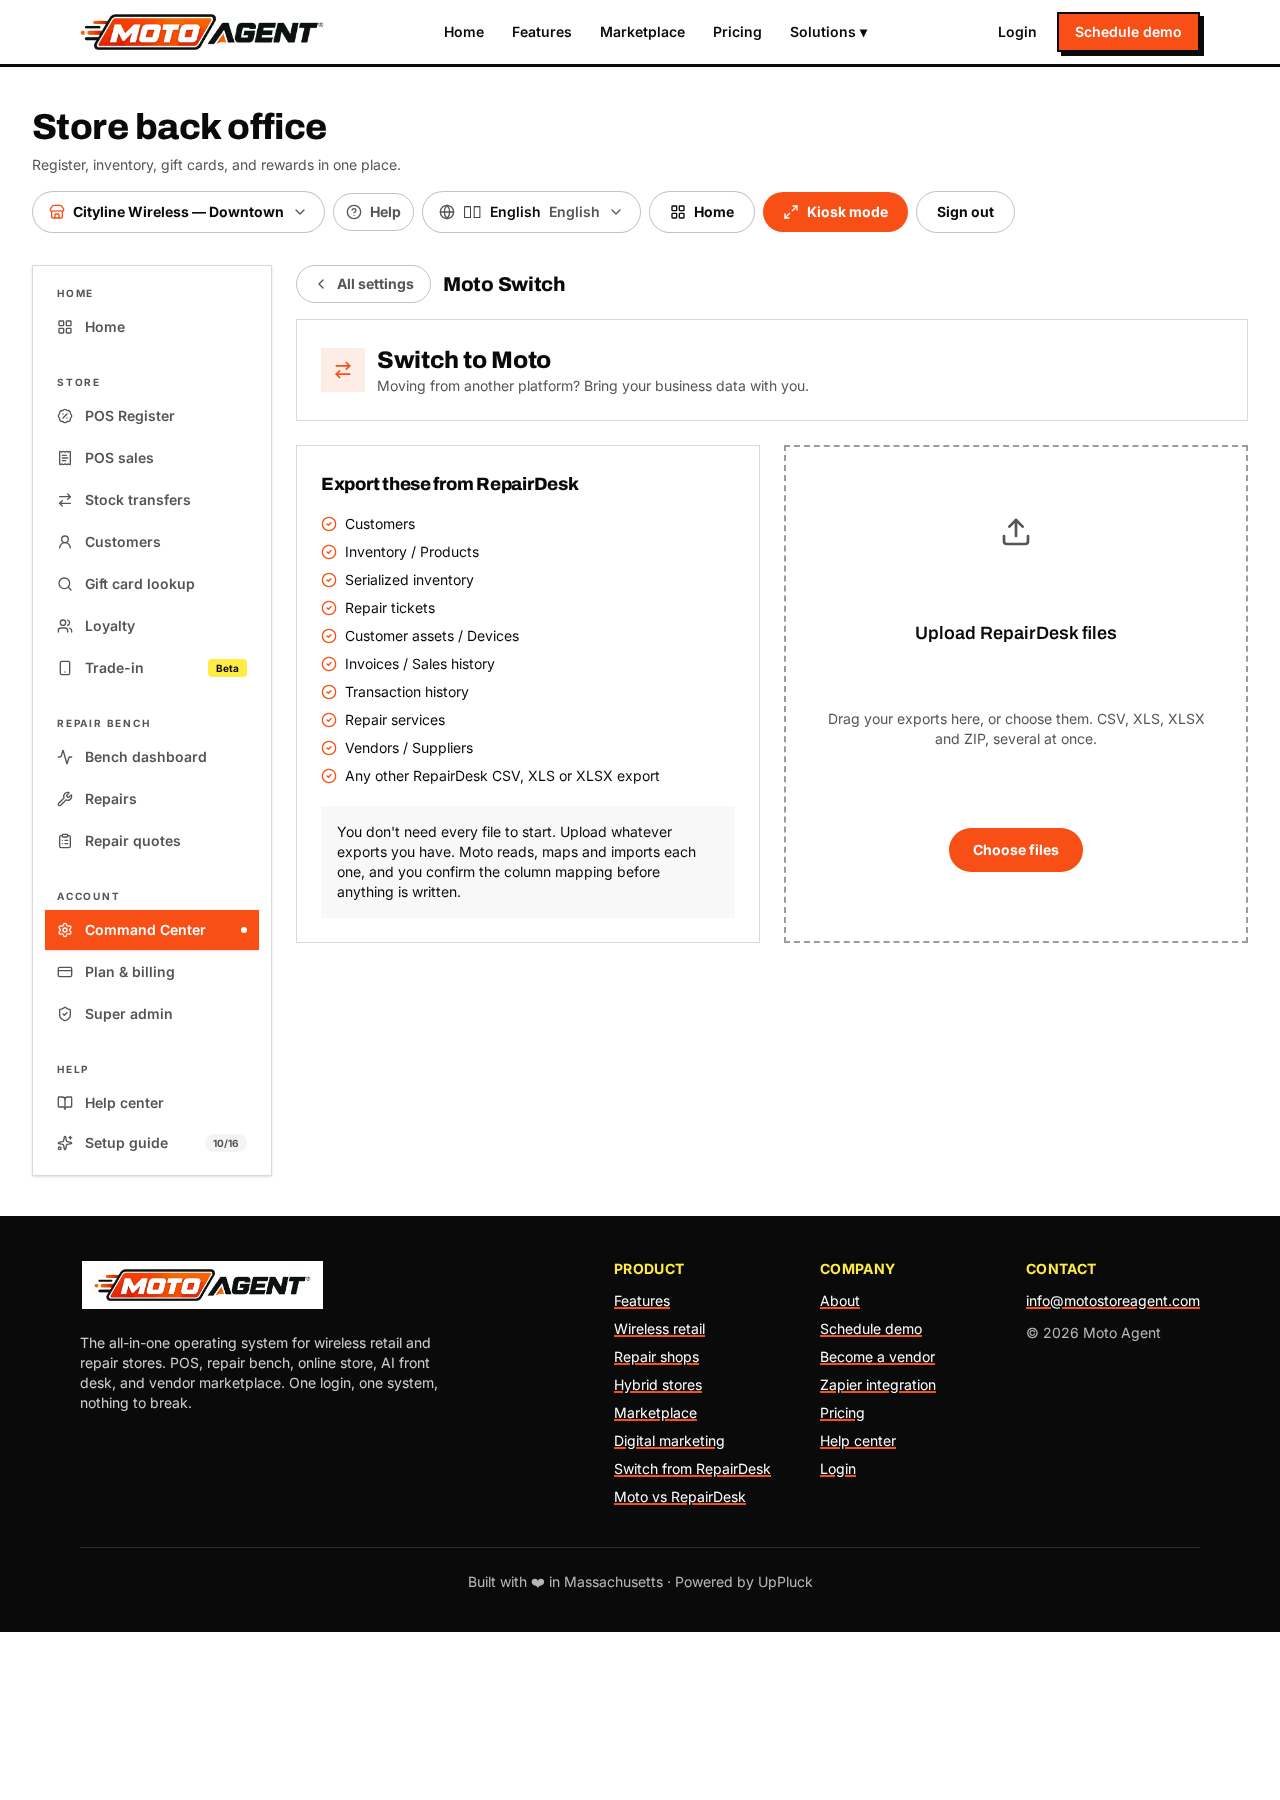
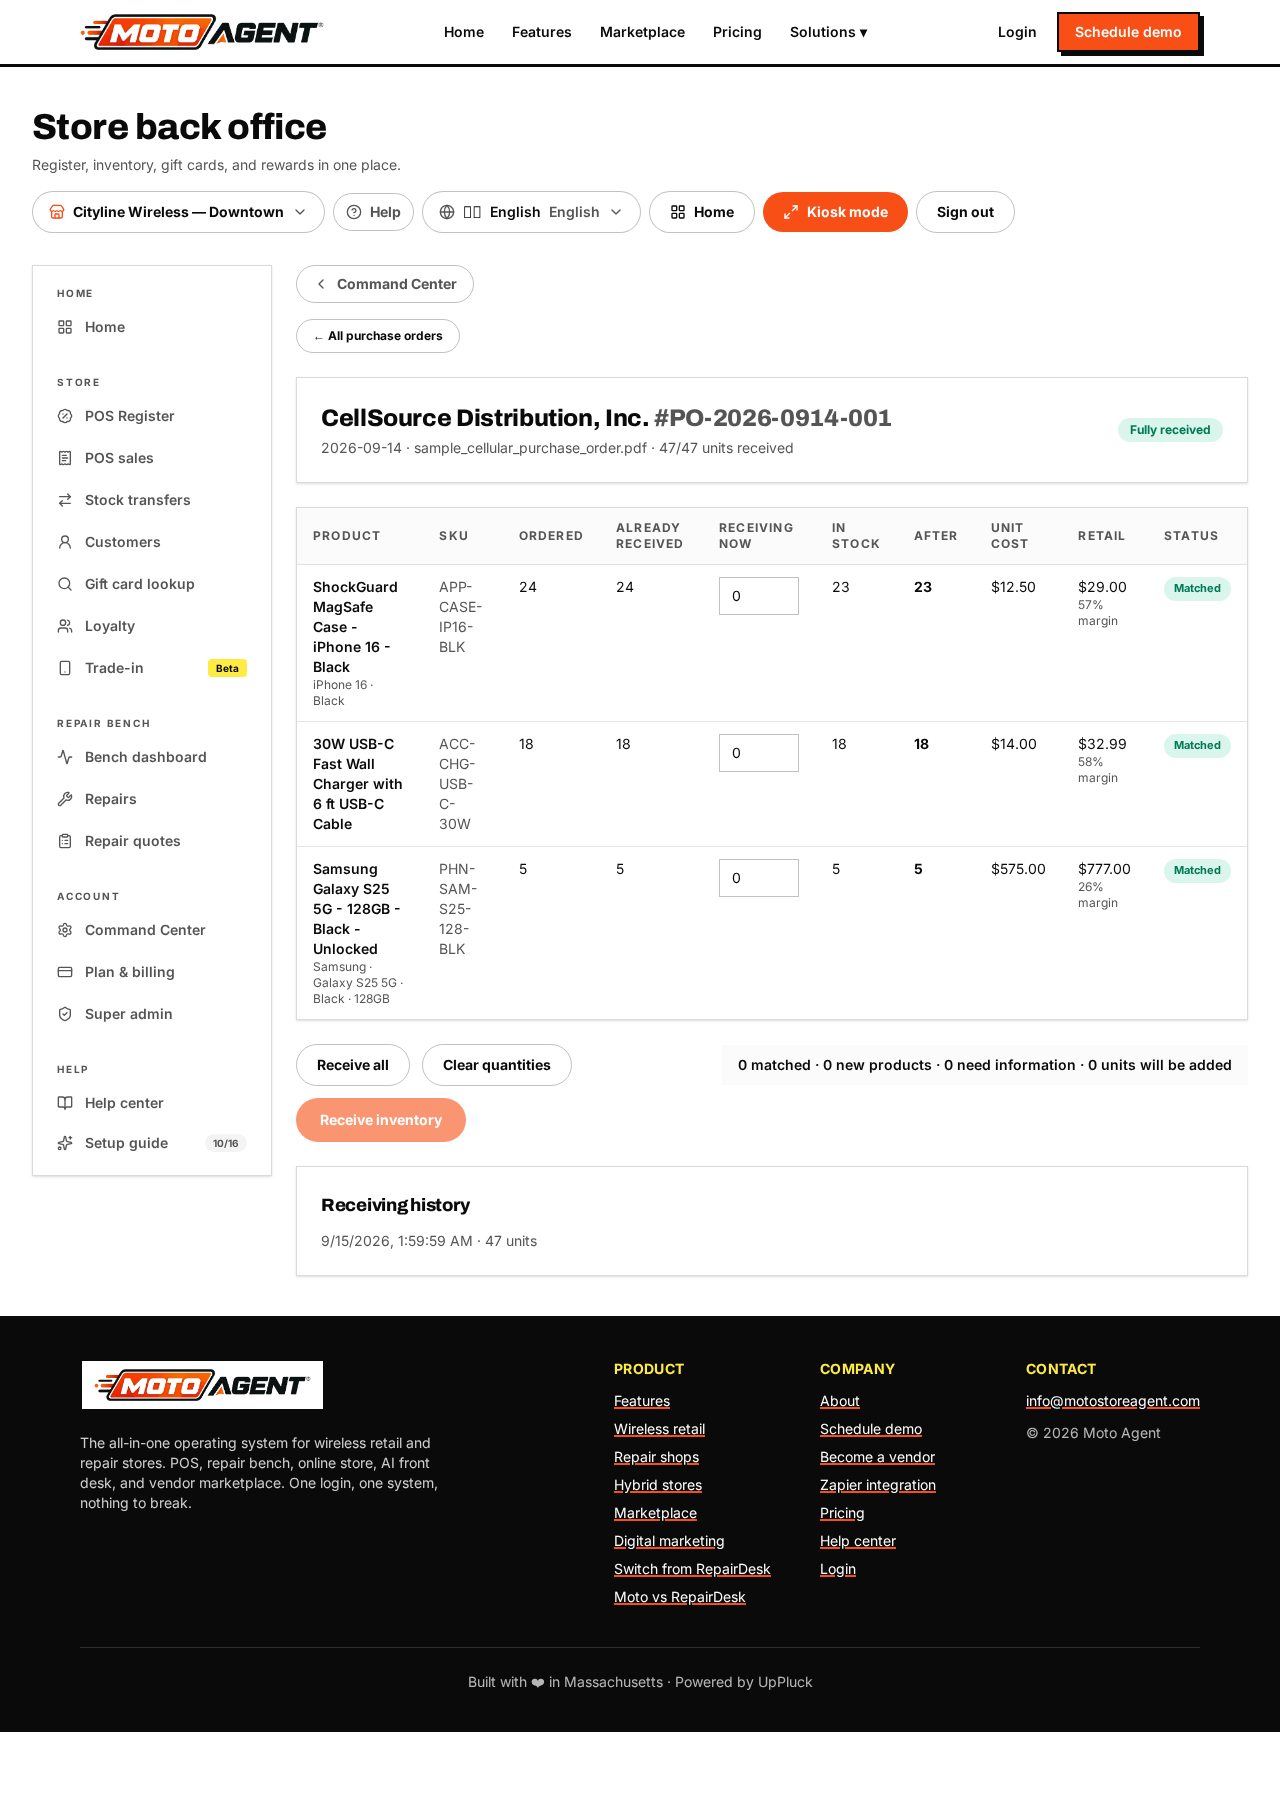
The Setup guide at the bottom of the left menu walks you through the essentials and shows how many steps are done.
It now covers sixteen steps:
- Store profile
- Moving from another platform with the Moto Migration Center
- Sales tax
- Receipt setup
- Registers and cash drawers
- Customer display
- Employees and PINs
- Products and services
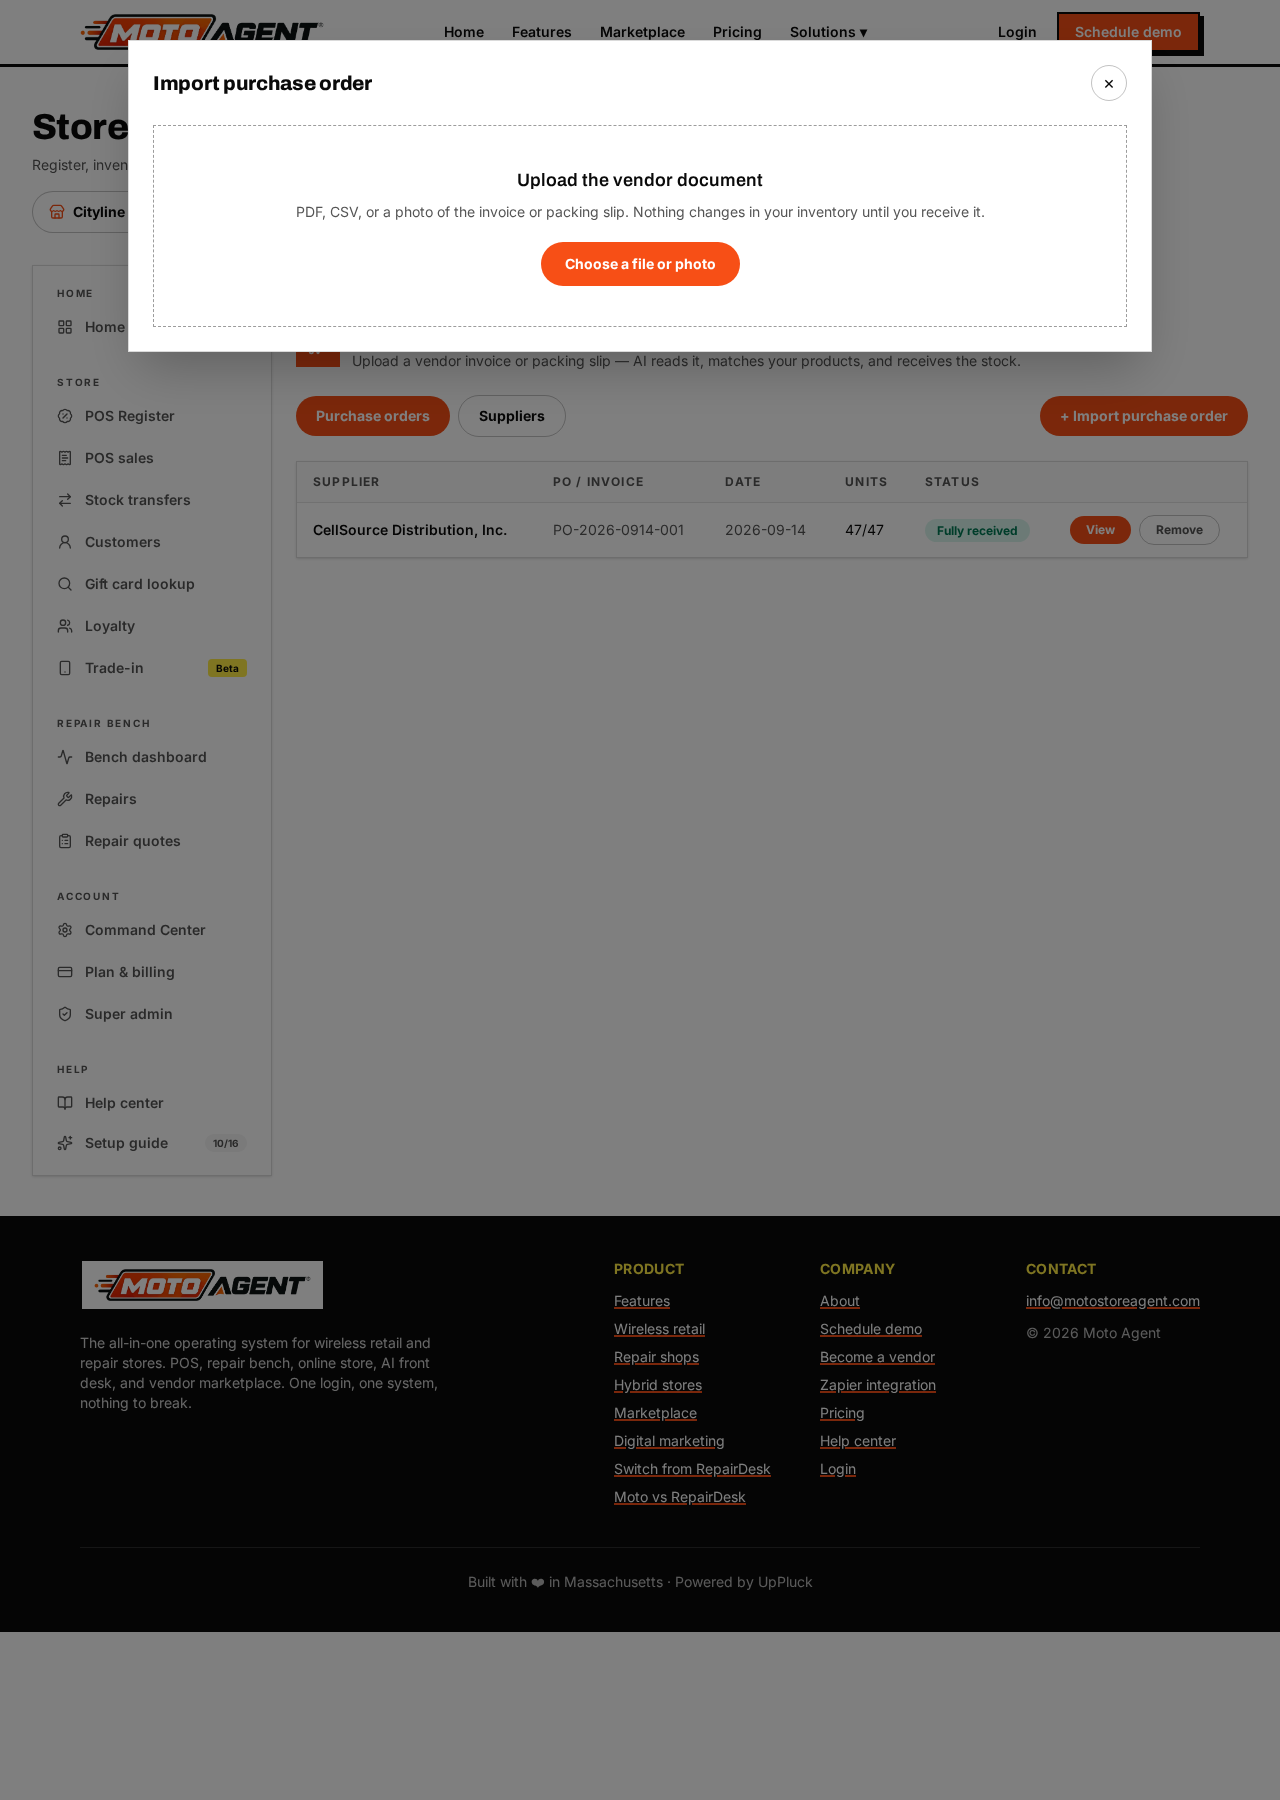
- Receiving and purchase orders (Moto Receive AI)
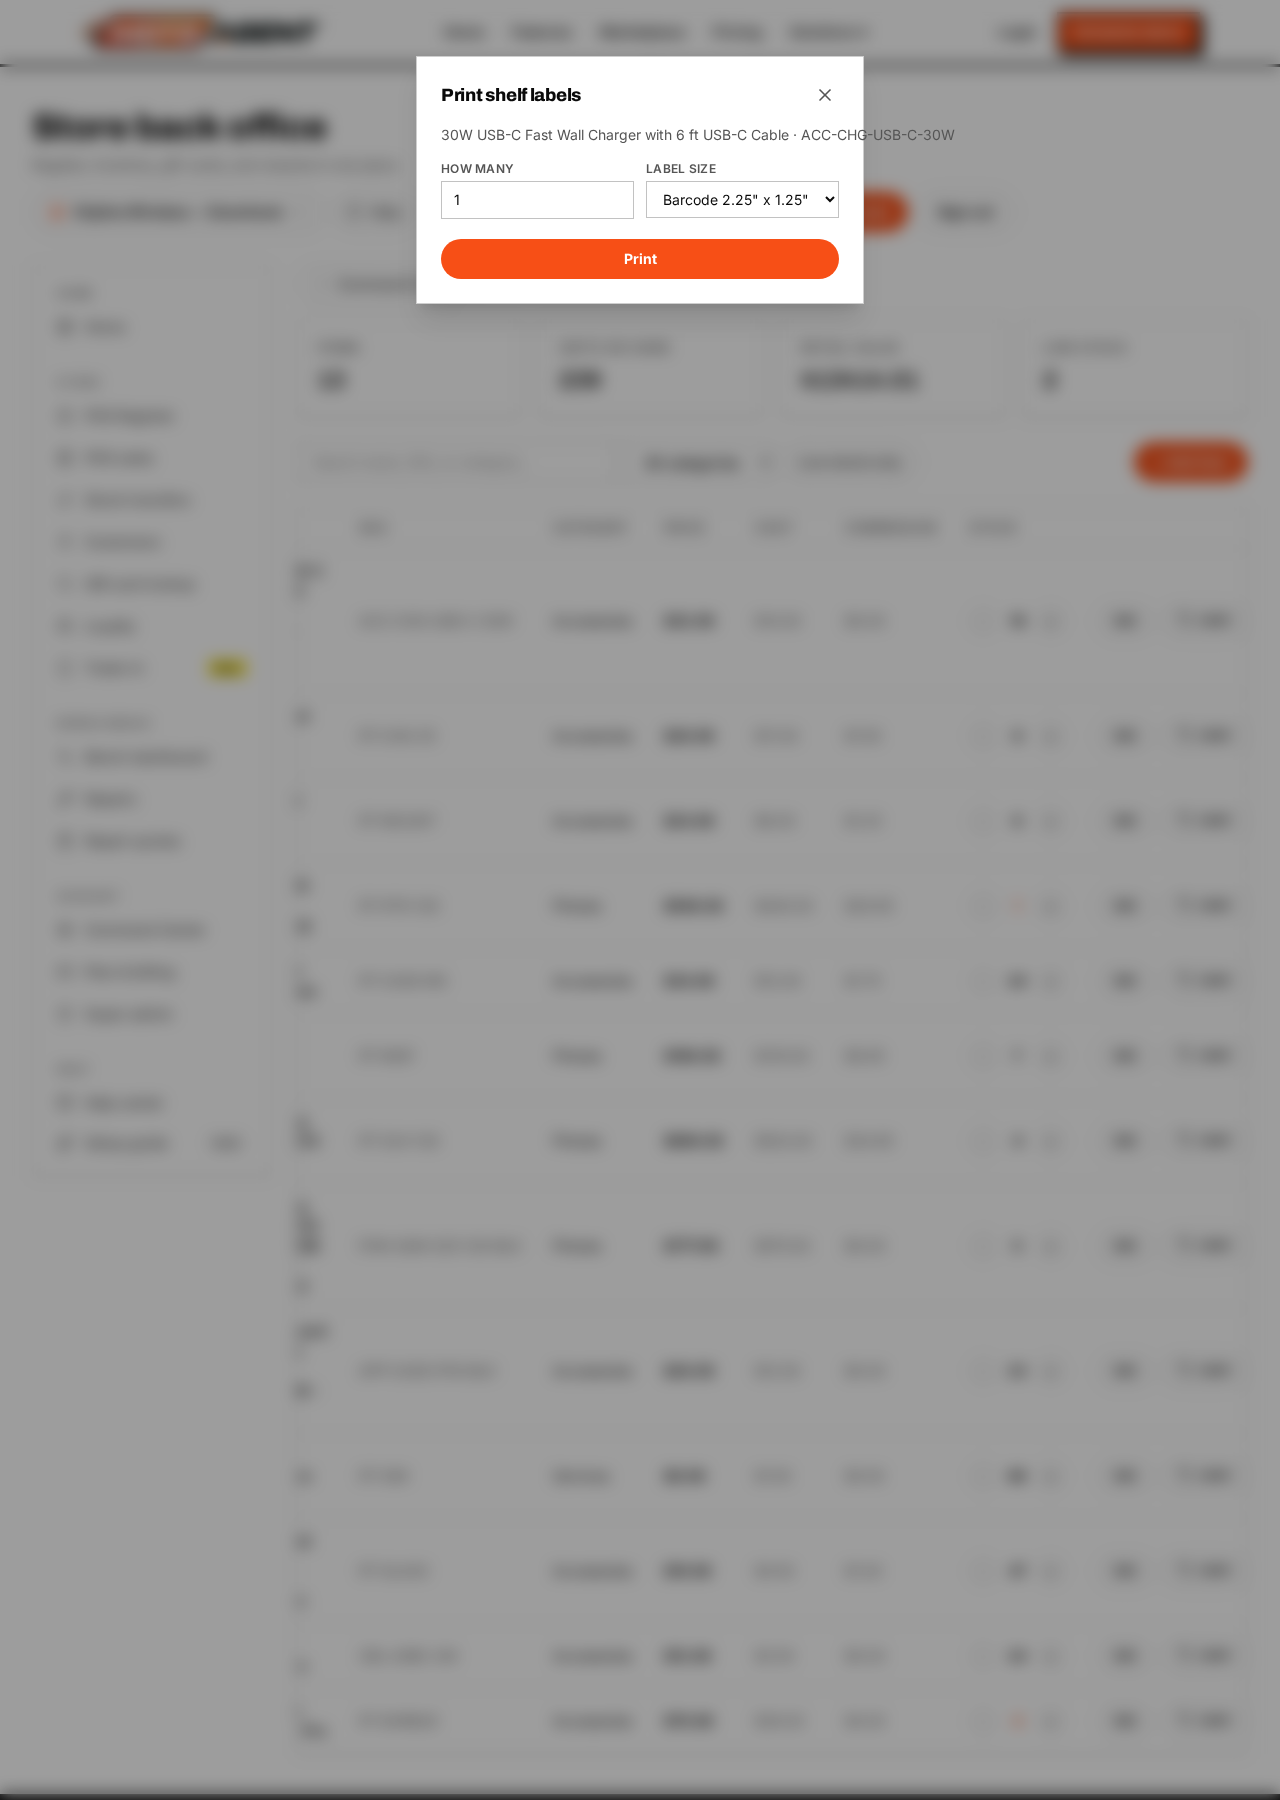
- Labels and shipping
- Gift cards
- Rewards program
- Coupons
- Repair tickets
- Your website
- Online store
Each step explains what it does, why it matters, and takes you straight to the right screen. Steps you have already finished are ticked automatically, for example once you add a register, run an import, receive a purchase order or set up shipping. You can reopen the guide any time and pick up where you left off.
Moto Agent runs on the devices you already have. The iPad is our certified pick for the counter, but Android tablets and any computer with a modern browser also work, since the whole platform runs in the browser. Nothing to install, so the register, the repair bench and the back office open the same way everywhere.